The Raspberry Pi Camera has revolutionized DIY electronics, robotics, and surveillance, offering compact, high-quality imaging at an affordable price. However, its standard lens often limits flexibility, especially in specialized applications like machine vision, microscopy, or long-distance surveillance. Enter the S-Mount Lens for Raspberry Pi Camera—a game-changer that unlocks customizable focal lengths, improved light control, and sharper image quality.
What Is an S-Mount Lens for Raspberry Pi Camera?
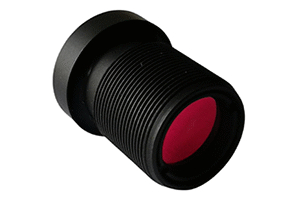
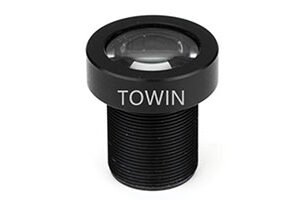
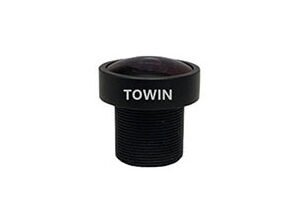
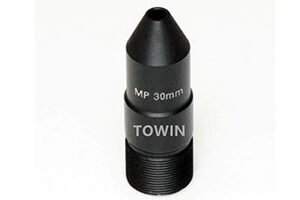
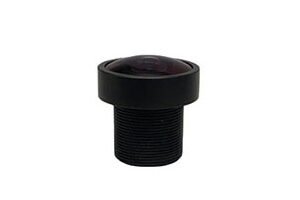
An S-Mount Lens for Raspberry Pi Camera is a compact, interchangeable lens designed to fit the Raspberry Pi Camera’s M12 (12mm) thread mount. Unlike fixed lenses, S-Mount lenses allow users to swap focal lengths (e.g., wide-angle, telephoto, or macro) without replacing the entire camera module. This versatility makes them ideal for applications requiring dynamic focus adjustments, such as:
- Surveillance systems (adjustable field of view).
- Robotics (precise object detection).
- Agricultural monitoring (close-up crop analysis).
- 3D printing (improved layer inspection).
The S-Mount standard ensures compatibility across brands, offering a cost-effective alternative to proprietary lenses.
Why Choose an S-Mount Lens for Raspberry Pi Camera?
1. Customizable Focal Lengths:
Swap lenses to suit your project’s needs. For example, a 2.8mm lens provides a wide 170° view for security cameras, while a 12mm lens narrows the field to 30° for long-distance shots.
2. Enhanced Image Quality:
High-quality S-Mount lenses reduce distortion, chromatic aberration, and vignetting, delivering crisper images even in low light.
3. Compact and Lightweight:
S-Mount lenses are tiny (often under 10g), making them perfect for portable projects like drones or wearable devices.
4. Cost-Effective:
Avoid buying multiple cameras—invest in one Raspberry Pi Camera and a set of S-Mount lenses for diverse applications.
How to Install an S-Mount Lens on Your Raspberry Pi Camera
1. Remove the Stock Lens:
Gently unscrew the default lens counterclockwise. Avoid touching the sensor.
2. Attach the S-Mount Lens:
Align the new lens’s threads with the camera’s M12 mount and screw it in clockwise until snug.
3. Adjust Focus (If Needed):
Some lenses have manual focus rings. Rotate until the image sharpens.
4. Test and Calibrate:
Use tools like raspistill or OpenCV to capture test images and fine-tune settings.
FAQs
Can I use any S-Mount Lens with my Raspberry Pi Camera?
Most S-Mount lenses are compatible, but check for M12 threading and sensor size (e.g., 1/4”, 1/3”).
What’s the difference between S-Mount and CS-Mount lenses?
S-Mount lenses have a 12mm thread diameter, while CS-Mount lenses use 12.5mm. CS-Mount lenses require a 5mm spacer for Raspberry Pi Cameras.
Do S-Mount lenses work with infrared (IR) light?
Yes! Look for lenses with an IR-cut filter for daytime clarity or without one for night vision.
How do I clean an S-Mount Lens?
Use a microfiber cloth and lens cleaning solution. Avoid abrasive materials that could scratch the glass.
Are S-Mount lenses waterproof?
Most are not, but some industrial-grade models offer IP67 ratings for outdoor use.
Final Thoughts
The S-Mount Lens for Raspberry Pi Camera is a small but mighty upgrade that unlocks unprecedented flexibility and image quality. Whether you’re building a smart security system or a high-precision robot, the right lens can make all the difference.